How to Film Better Reels: 10 Practical Tips


Videos have become one of the most important content formats on Instagram, TikTok and YouTube. Many creators and businesses still believe they need an expensive camera or professional production equipment to create high-quality content.
In reality, that's often not the case.
Social media users aren't expecting polished commercials. They want content that feels genuine, delivers value and communicates ideas clearly. For most Reels, a modern smartphone is more than capable of producing excellent results.
That doesn't mean professional camera equipment has become obsolete. High-end productions still play an important role in brand films, advertising campaigns and commercial product videos. For everyday social media content, however, the idea behind the video usually matters far more than the camera it was filmed with.
The following tips will help you get the most out of your smartphone and create Reels that look more professional without making the production process unnecessarily complicated.
Choose the Right Camera Settings
Before you start filming, it's worth taking a quick look at your smartphone's camera settings. Most modern devices already deliver excellent image quality—as long as they're configured correctly.
Full HD Is Usually All You Need
For Instagram Reels and TikTok videos, Full HD (1080p) is perfectly sufficient in most situations. Since both platforms compress uploaded videos, recording in 4K often provides little to no visible quality improvement.
The only exception is if you plan to crop heavily or zoom into your footage during editing. In those cases, filming in 4K gives you additional flexibility.
30 FPS or 60 FPS?
For most types of content, 30 frames per second (30 FPS) is the best choice. It delivers natural-looking motion and works well for talking-head videos, tutorials and everyday content.
If you're recording fast movements or want to create slow-motion effects later, consider filming at 60 FPS instead.
Turn on the Camera Grid
Another helpful setting is the 3×3 camera grid, which can be activated in your smartphone's camera settings.
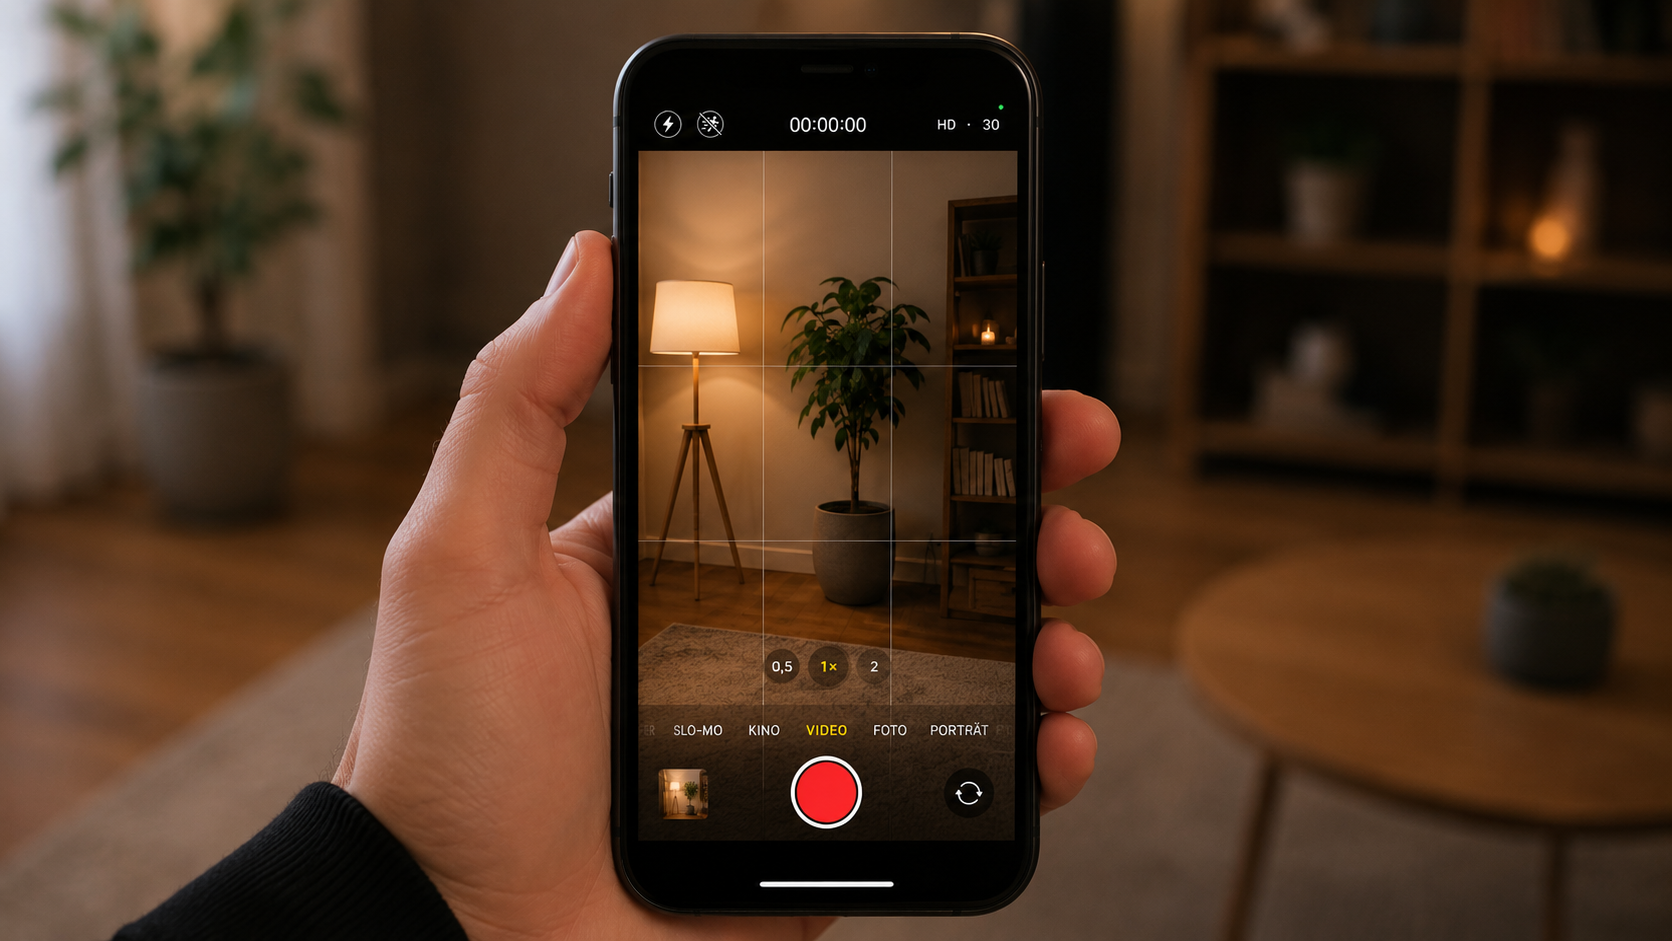
It makes it much easier to keep your subject straight, compose balanced shots and leave enough room for captions and on-screen graphics.
A useful guideline is the Rule of Thirds. Try positioning your eyes along the upper horizontal grid line and place yourself slightly to the left or right of the centre of the frame. This creates a more balanced composition while leaving enough space for subtitles without covering important parts of the image.
Whenever possible, avoid using your smartphone's digital zoom. Unlike optical zoom, digital zoom simply enlarges the image digitally, reducing sharpness and detail. If you need a closer shot, it's usually better to move physically closer to your subject or switch to a different lens on your smartphone.
1. Clean Your Camera Lens Before Every Shoot
It sounds obvious, but it's surprisingly easy to forget.
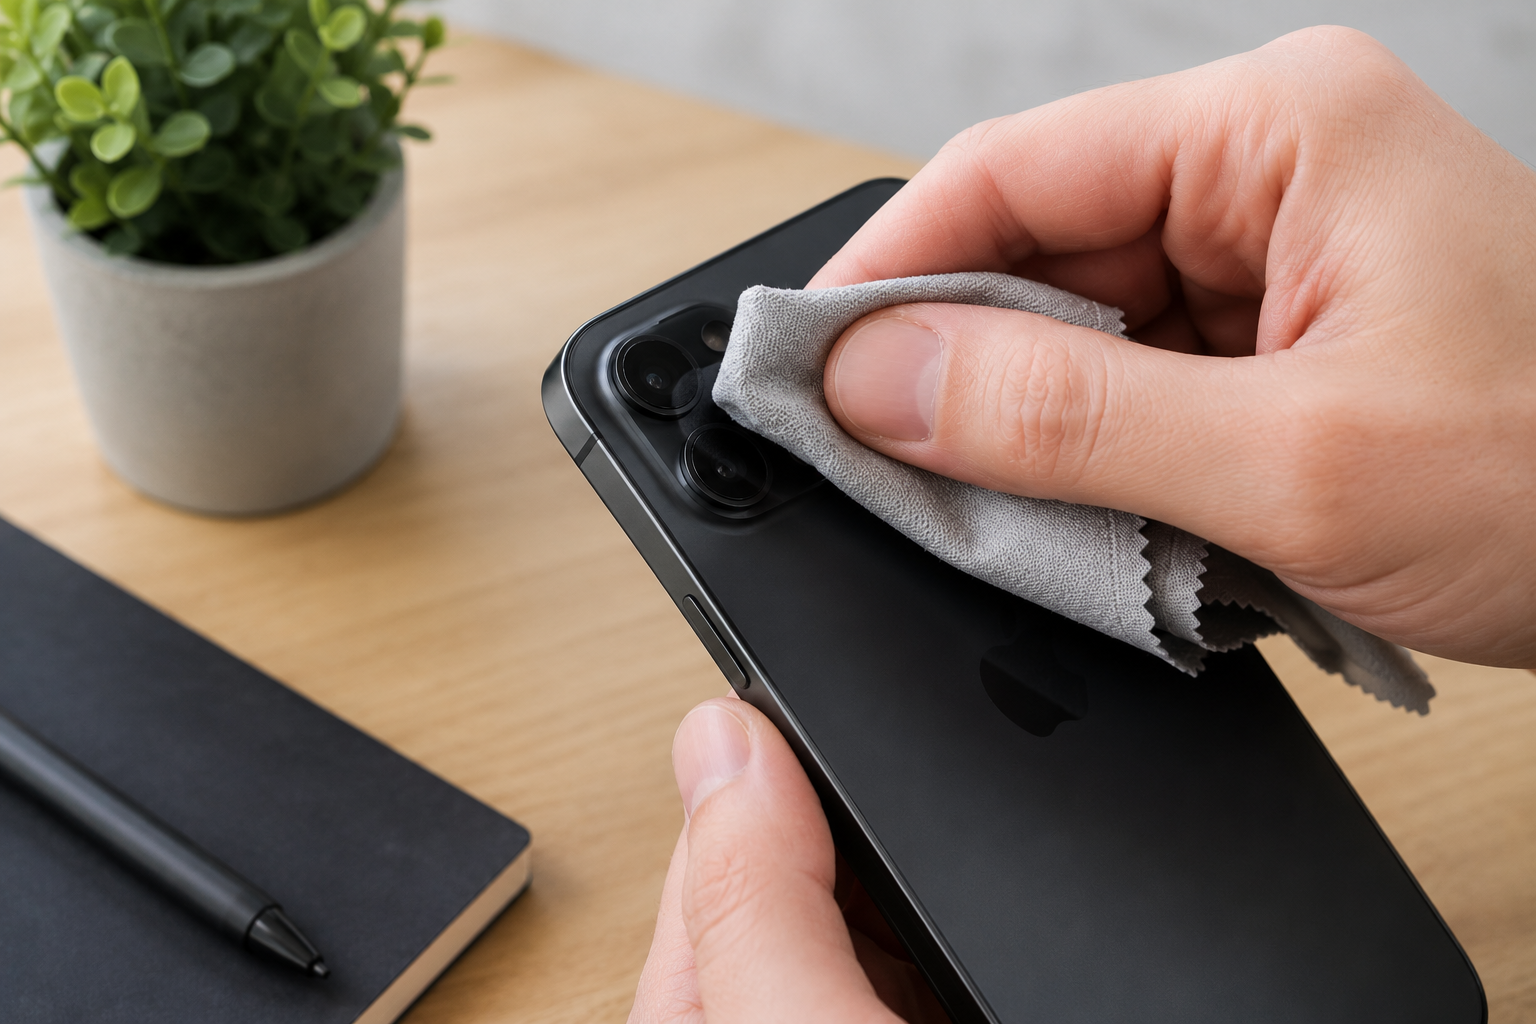
Even a small fingerprint on your camera lens can make footage look soft or slightly blurry. Before you start filming, quickly wipe the lens with a microfiber cloth or a clean cotton fabric.
It only takes a few seconds, but it can noticeably improve the quality of your footage.
2. Use Natural Light Whenever Possible
Lighting often has a greater impact on video quality than the camera itself.

Whenever possible, film near a window or outdoors in open shade. Natural light creates pleasant colours and more even skin tones.
Try to face the light source rather than standing with your back to it. If you film directly in front of a bright window, your smartphone will often expose the background correctly while leaving your face noticeably darker.
3. Look into the Camera Lens
Many people spend the entire recording watching themselves on the screen.
For viewers, however, this often feels slightly unnatural because your eyes aren't looking directly at them.
Instead, focus on the camera lens. This creates the impression of direct eye contact and helps make your videos feel more personal and engaging.
4. Plan Your Reel Before You Start Filming
Not every successful Reel is created spontaneously.
Before you press record, decide what your video is about, how you want to open it and which shots you'll need.
A simple shot list helps you stay organised and ensures that no important scenes are forgotten. It's also worth planning where captions, graphics or your call-to-action will appear later. This allows you to frame your shots accordingly and prevents important parts of the image from being covered during editing.
If you're producing several Reels in one session, this preparation will save you a considerable amount of time.
5. Film Multiple Short Clips and Add Variety in the Edit
Most engaging Reels are made up of several short clips rather than a single continuous shot.
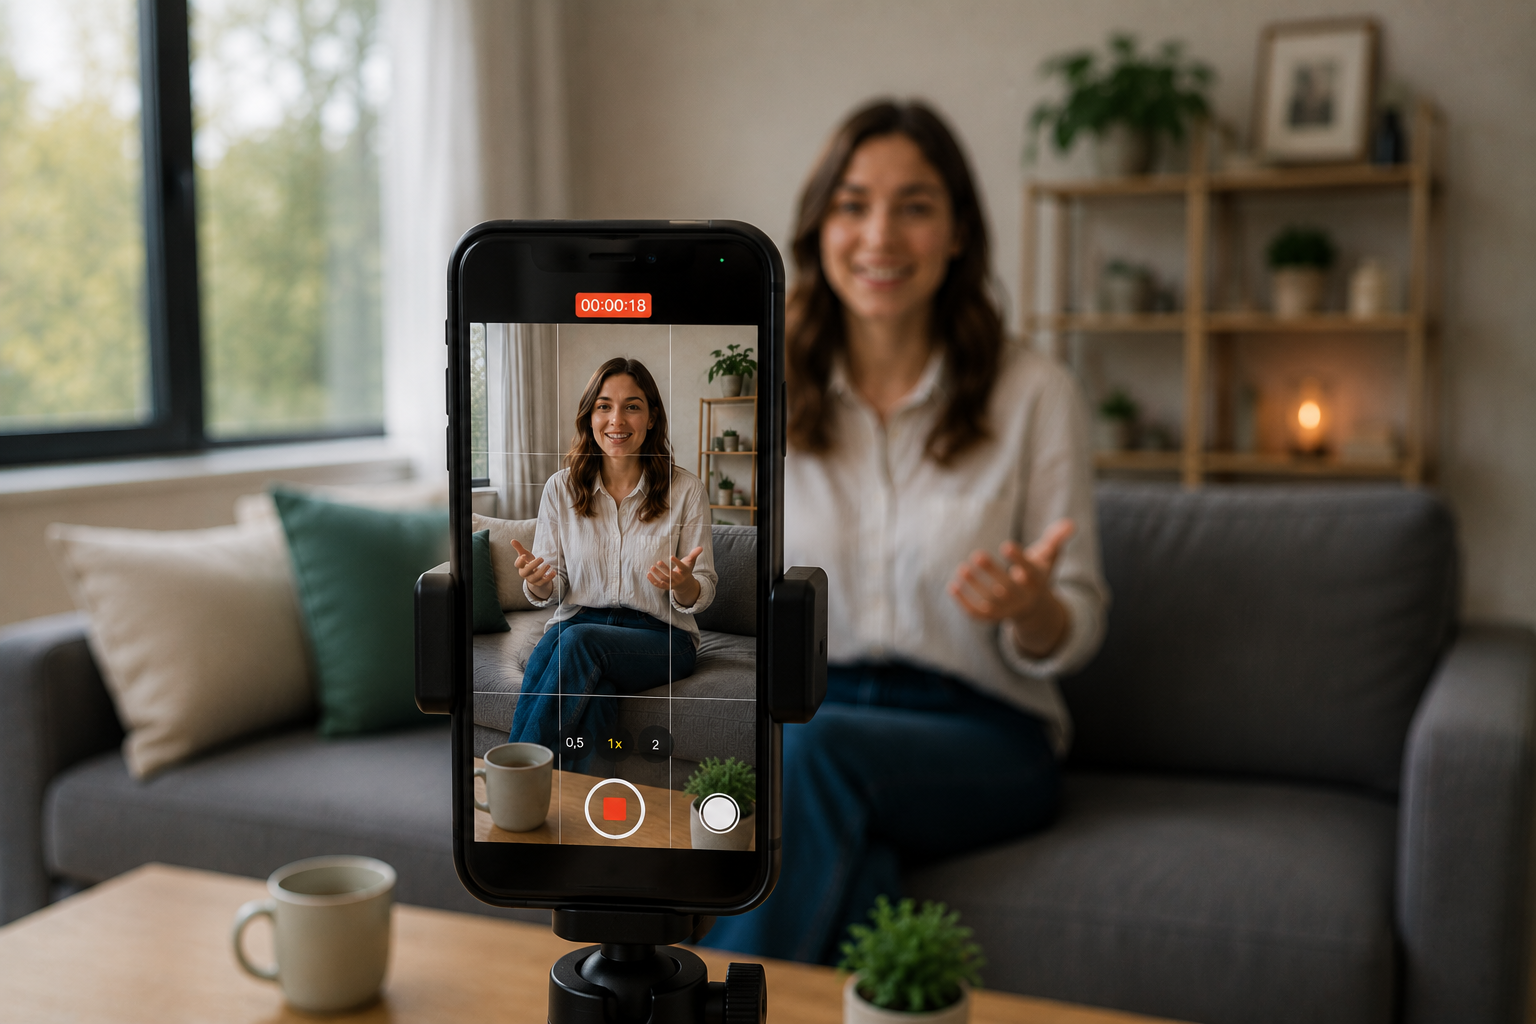
Instead of recording everything in one take, capture different angles and perspectives before assembling them during editing.
This makes your Reel feel more dynamic while giving you greater flexibility in post-production. It also allows you to remove mistakes or awkward pauses without having to re-record the entire video.
Another common editing mistake is placing several shots with the same framing back to back. Even if the content changes, the video can quickly feel static.
Instead, vary your shot sizes. Move from a medium shot to a close-up, or switch from a detail shot back to the presenter. These simple changes create a much more engaging viewing experience.
Pro Tip: Let Every Clip Run a Little Longer
Many creators stop recording immediately after finishing a sentence or completing an action. During editing, they often realise they don't have enough footage to create smooth transitions.
Instead, let every shot start two to three seconds earlier and continue two to three seconds longer than you think you'll need.
Those extra seconds make editing significantly easier and help prevent awkward cuts where words or movements are accidentally trimmed.
6. Capture Plenty of B-Roll
B-roll refers to additional footage that supports what you're saying.
This could include close-up shots, screen recordings, product details or short scenes from your daily work.
Always record more B-roll than you think you'll need. During editing, you'll appreciate having extra material to create smoother transitions or cover cuts between speaking segments.
7. Poor Audio Is More Noticeable Than Poor Video
Viewers will often forgive slightly imperfect image quality.
Poor audio, however, immediately makes a video feel less professional.
If you regularly create Reels, investing in a small lavalier microphone is well worth it. Alternatively, choose a quiet recording location and make a short test recording before you begin filming.
A quick audio check can save you from discovering background noise or echo after the entire shoot is finished.
Choose Your Background Music Carefully
Music has a much bigger impact on the overall feel of a Reel than many creators realise. The soundtrack should support your message rather than distract from it.
Businesses should also make sure they only use music they have permission to use. Many songs available in Instagram's or TikTok's music library are restricted or unavailable for business accounts.
Whenever possible, use licensed music or tracks that are officially available within your account.
8. Captions Have Become Standard
Many people watch Reels while commuting, at work or with the sound turned off.
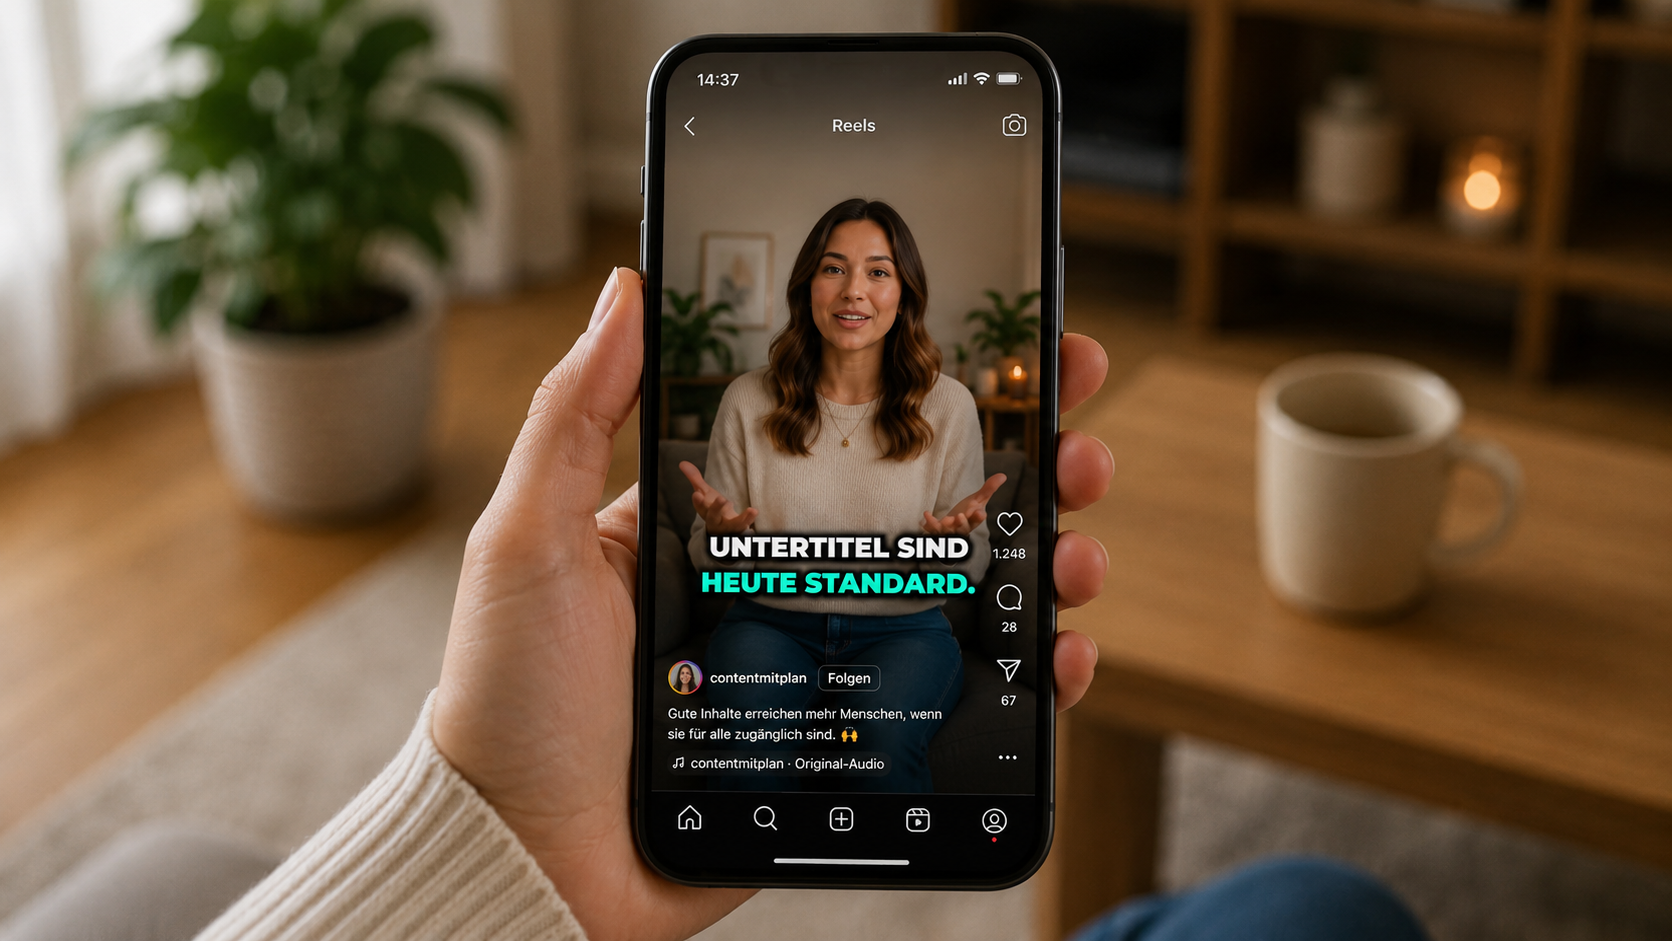
Captions make your content easier to understand and improve accessibility at the same time.
When adding captions or text overlays, make sure they stay within the platform's safe areas. Instagram, for example, displays profile information, captions and interface elements at the top and bottom of the screen. Text placed too close to the edges may end up being partially hidden.
Automatic captions can be generated directly in Instagram or TikTok. If you want more design flexibility, apps like CapCut or professional editing software such as Adobe Premiere Pro offer additional options.
Whichever tool you choose, always proofread your captions before publishing. Automatic transcription still struggles with names, technical terms and industry-specific vocabulary.
9. Export Your Video in the Right Format
Once your editing is complete, the export settings determine how your Reel will look after uploading.
The following settings are recommended:
- Vertical format (9:16)
- 1080 × 1920 pixels
- H.264 video codec
- High export quality or bitrate
These settings provide an excellent balance between image quality and file size for both Instagram and TikTok.
10. Great Reels Start Long Before You Press Record
Professional-looking content rarely happens by accident.
A successful Reel usually begins with a clear idea, a structured plan and a well-prepared shoot.
Before filming, think about the purpose of your video, how you want to capture attention within the first few seconds and which shots you'll need to tell your story effectively.
That's exactly where KNOWYOURCHAT comes in.
The AI Crew helps you generate content ideas tailored to your audience, develop compelling hooks and create complete scripts before filming even begins. From there, you can build shot lists and captions so you already know exactly which scenes you need to capture before picking up your camera.
Once your Reel has been published, Insights allow you to monitor its performance over custom time periods. This makes it easier to identify which topics resonate with your audience and continuously improve your future content strategy based on real performance data.
Want to plan your Reels more efficiently? Register for KNOWYOURCHAT for free and discover how our AI Crew supports you from the first idea all the way to your finished caption.
Checklist: Before You Start Recording Your Next Reel
Before hitting record, quickly go through this checklist:
☐ Full HD (1080p) and the appropriate frame rate selected
☐ Camera grid enabled
☐ Camera lens cleaned
☐ Battery charged and enough storage available
☐ Good lighting
☐ Background checked
☐ Audio tested
☐ Hook and shot list prepared
☐ Plenty of B-roll recorded
☐ Video exported in high quality